Add Images to a WordPress Page or Post

This document shows you how to add an image from the web, your computer, or the Media Library to a page or post on WordPress.

Before you read through our documentation, we want you to know that the quickest way to add an image to your page or post is by dragging and dropping from your desktop (see gif below).  If you do not feel comfortable doing so, the following step-by-step instructions will show you how to add images without the need of any dragging and dropping from your desktop, as well as how to add an image found on another website.
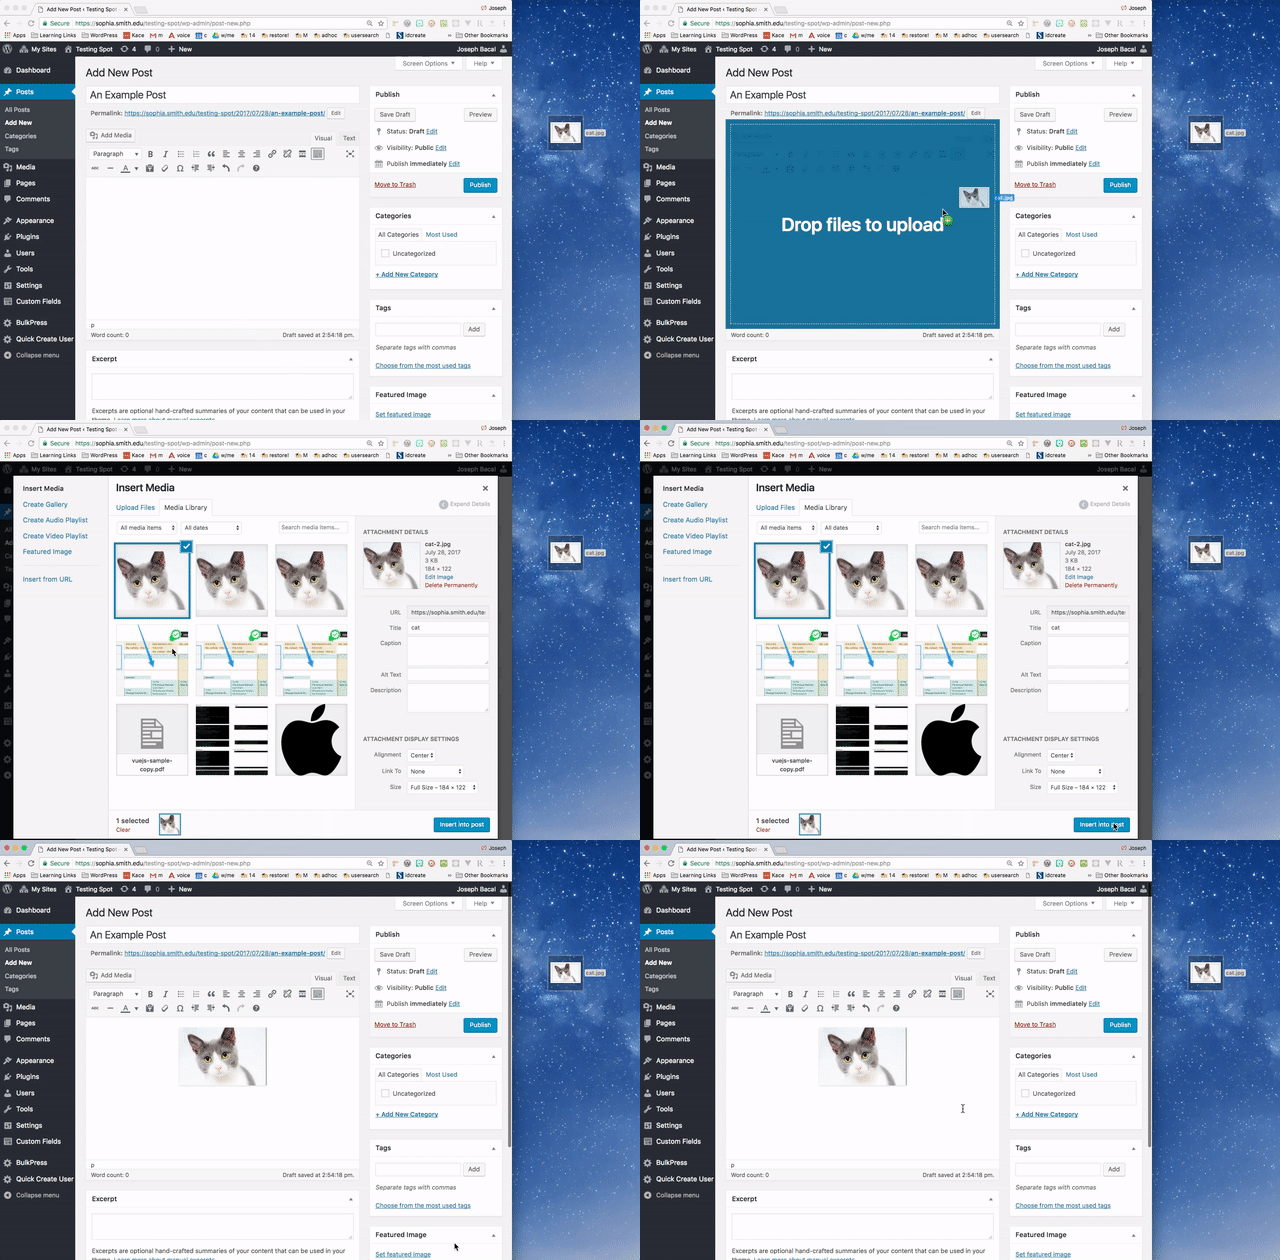
Add Images From Your Computer or the Image Library

1

Navigate to the Dashboard of your site.

2

In the “Dashboard”, on the left side toolbar, create or open an existing page or post.

3

In the page or post edit page, above the menu bar, click Add Media. The “Insert Media” pop-up window will be displayed.

4

In the “Insert Media” pop-up menu, click Upload Files to add an image from your computer. To add an image already uploaded to your WordPress site, click Media Library and skip to step 6.

5

If you clicked “Upload Files”, drag and drop the image file (or files) into the window, or click the Select Files button to open the finder (Mac) or folder (PC) to find the file you want to upload.

6

Once you’ve uploaded or selected the file you want to add to your page or post, on the right side of the page, the image settings will be displayed. Change the Attachment Display Settings options, add a caption if needed, and add Alt text to your image. The alt text will help screen readers when describing the image.

7

Once you have completed the image parameters, at the bottom of the “Insert Media” pop-up menu, click Insert into Post. The image will be displayed in the visual editor.

8

To save your work, on the right side of the page, under the “Publish” block, click Save, Update, or Publish.

Add Images from the Web

Warning: Because these images are hosted on another website, if the image is changed or deleted on the site you find them, it may no show up properly in your page or post.

1

Navigate to the Dashboard of your site.

2

In the “Dashboard”, on the left side toolbar, create or open an existing page or post.

3

In the page or post edit page, above the menu bar, click Add Media. The “Insert Media” pop-up window will be displayed.

4

In the “Insert Media” pop-up menu, on the left side column, click Insert from URL. The “Insert from URL” menu will open.

5

In the “Insert from URL” menu, paste the image URL into the first field (should begin with http://). The image thumbnail and options will be displayed below. Add a caption if needed, and add Alt text to your image. The alt text will help screen readers when describing the image.

6

Once you have completed the image parameters, at the bottom of the page, click Insert into Post. The image will be displayed in the visual editor.

7

To save your work, on the right side of the page, under the Publish block, click Save, Update, or Publish.


We'd love your feedback!

Last modified: September 20, 2017