Tags and categories can work together or on their own. Categories are often used as hierarchical and/or definitive categories. For example in a site about Animals, I might use “Mammals” and “Reptiles” as categories since we can generally be sure we will know what category an animal belongs in. Tags are generally more open ended, and can be applied across categories. For example the tag fierce could be added to both an animal in the Mammals category (e.g. “Tiger”) and the Reptiles category (e.g. “Cobra”).
Tags and Categories are meant to help users to quickly find the content they are looking for on your site and/or help them discover the type of content that you have. A good use of these tools is key to guide readers throughout the content of your site.
With that in mind, it’s good to not overuse them either, as too many can appear overwhelming.
2
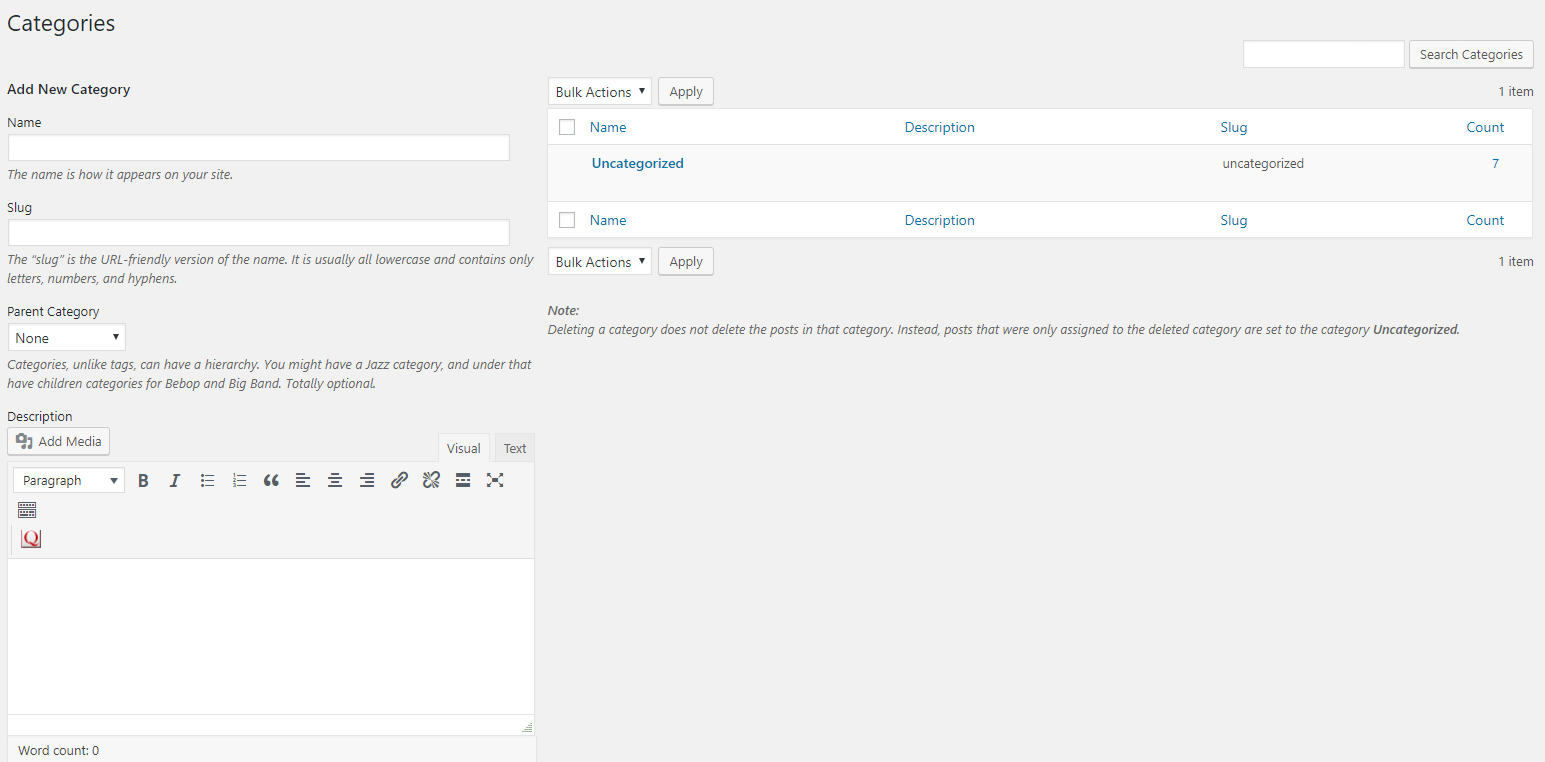
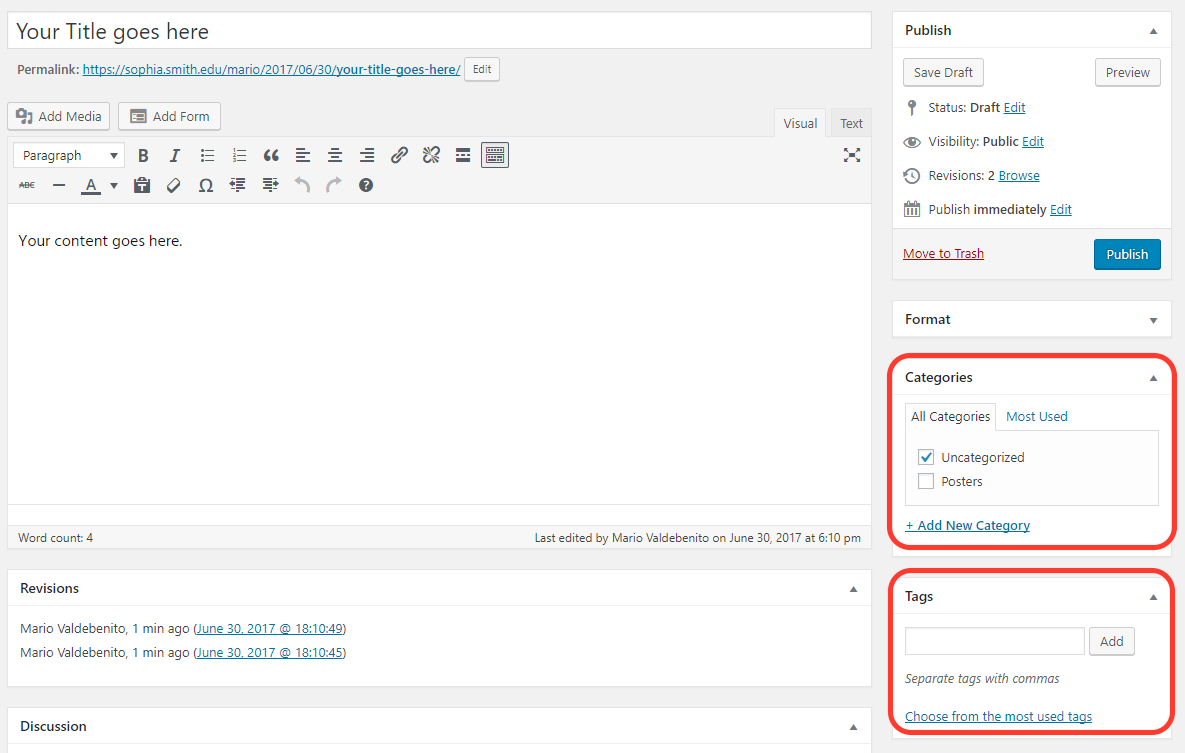
To select a category, on the “Categories” block, click a category (or multiple categories) from the checkbox list. If you do not have any category, click on + Add New Category. Then, write the category name and, when applies, select the parent category from the drop-down below.
3
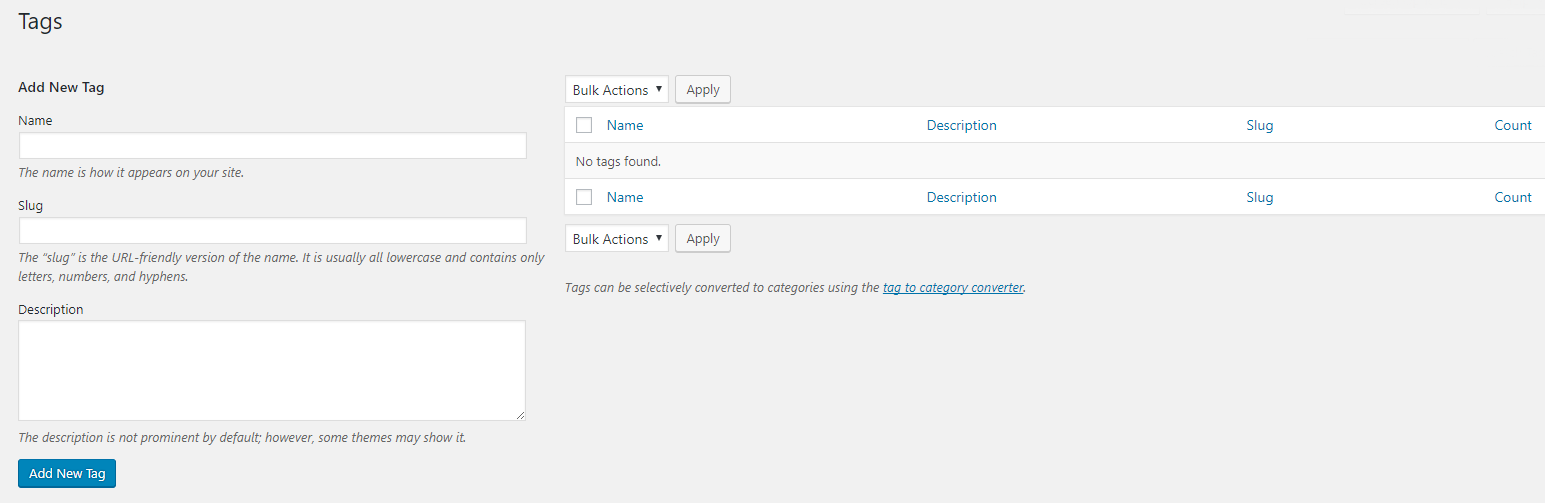
To add a tag, on the “Tags” block, start entering the tag you want to use. A drop-down will appear showing the options available to select. Finish typing or select your tag and then click Add. The tag will appear below.
Note: If you are entering a new tag, when you click Add, the new tag will be added to the tags list for future use. To edit any tag you have created, follow the Create Tags and Categories instructions above.
You can create menus by using categories on them. To learn more about creating menus, see Edit Menus on WordPress.